
Create Roles
Overview
Roles associate a list of users with a set of permissions. There are two ways of doing this, through the roles and to individual users. This article talks about the way to create roles and add users to them.
Create Role
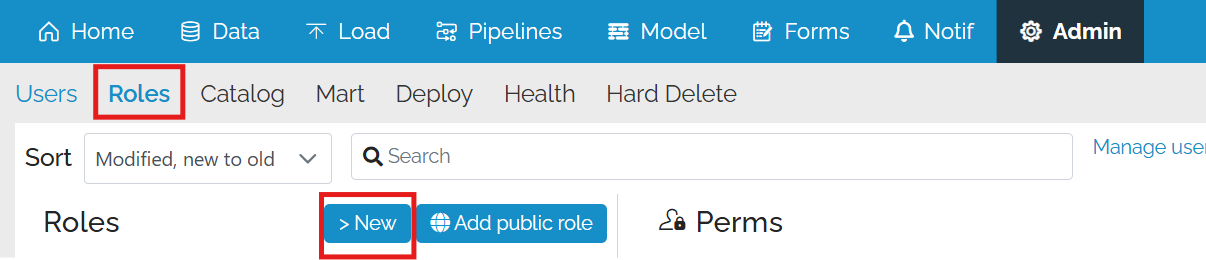
To create a role, go to the mart and click on Admin, Roles New
Select a template role (can be customized later)
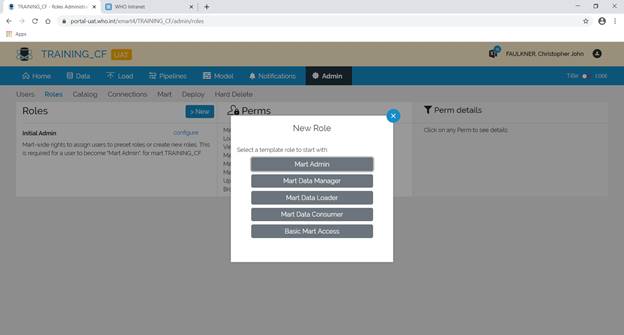
The role templates are described below
| Role | Description |
|---|---|
| Mart Admin | Mart-wide rights to assign users to preset roles or create new roles. This is required for a user to become “Mart Admin”. |
| Mart Data Manager | Full rights on all aspects of mart data including table creation, editing, uploading, upload configuration, etc. Like Mart Admin but without rights to change security |
| Mart Data Loader | Ability to upload any data in the mart |
| Mart Data Consumer | Ability to consume all data in the mart |
| Basic Mart Access | An empty role to allow users to enter this mart without any specific right, useful for creating custom roles that don’t fit any other template role or giving Xmart access to an external user. |
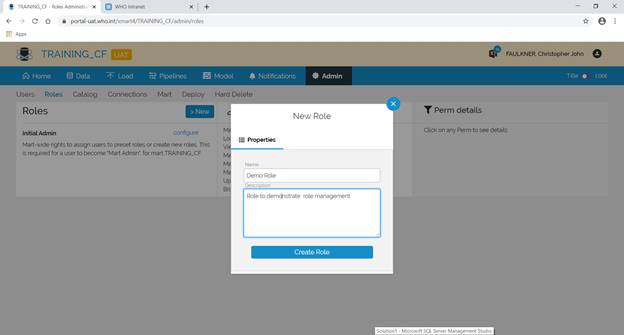
Type in the role title and description (or leave it as the default) and press Create Role
Manage role Permissions
After the role is created you can customize the role permissions
Go to the role and press Configure
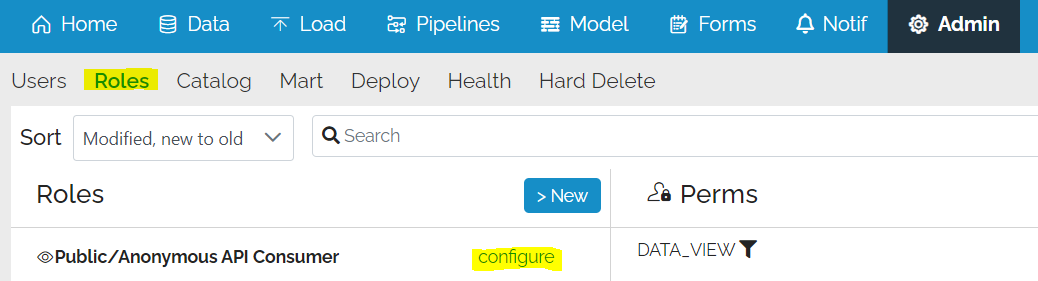
Select the Perms tab
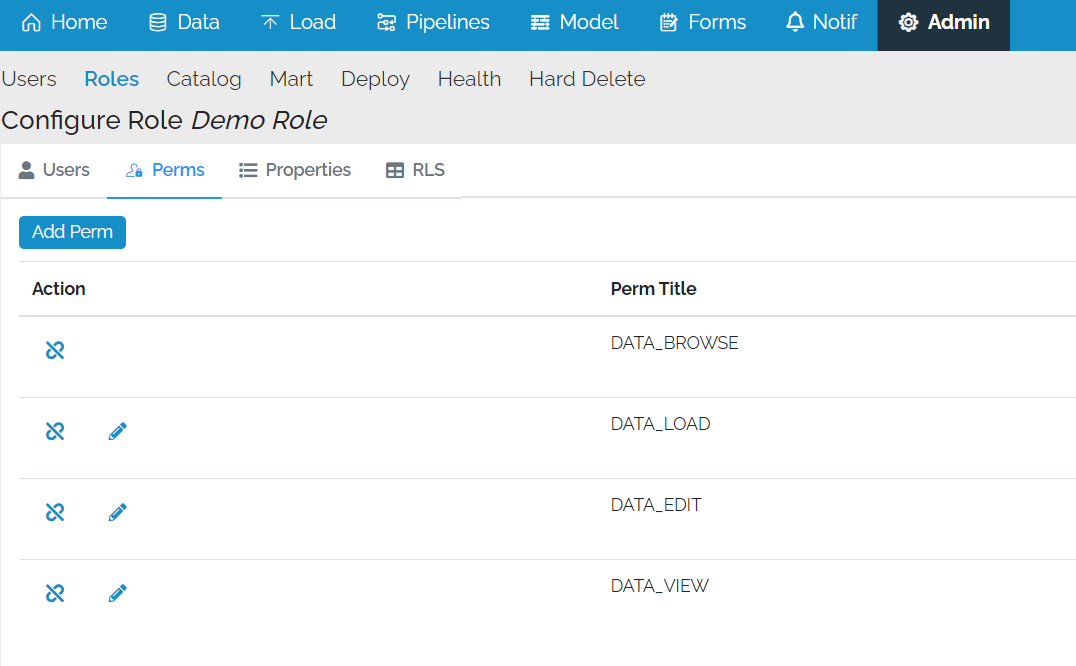
Add Permission
To add a permission, press Add Perm and select the permission that you want to give to the role.
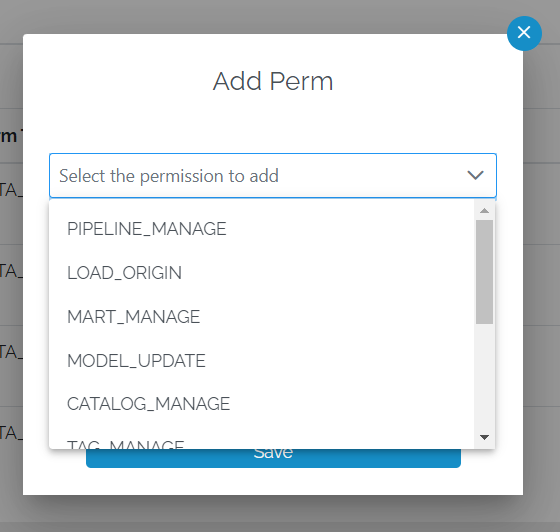
A short description of the permission is visible upon hovering the mouse over the permission in the role list.
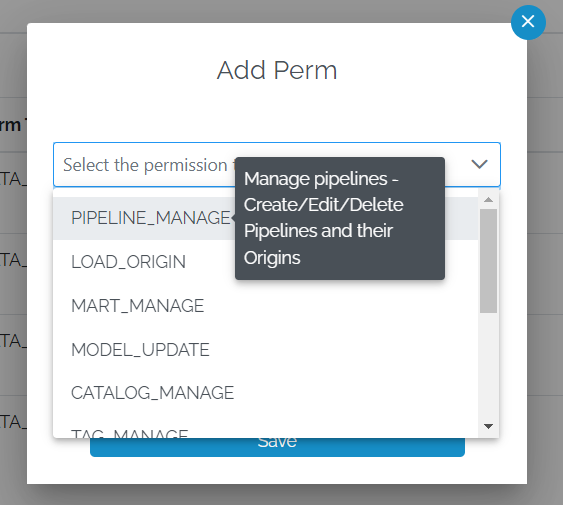
This is also true at the Roles page level

If you click on the Role, further details appear on the right

Define object-specific permissions
Some roles are object specific. To assign access to specific objects, click on the Edit icon.
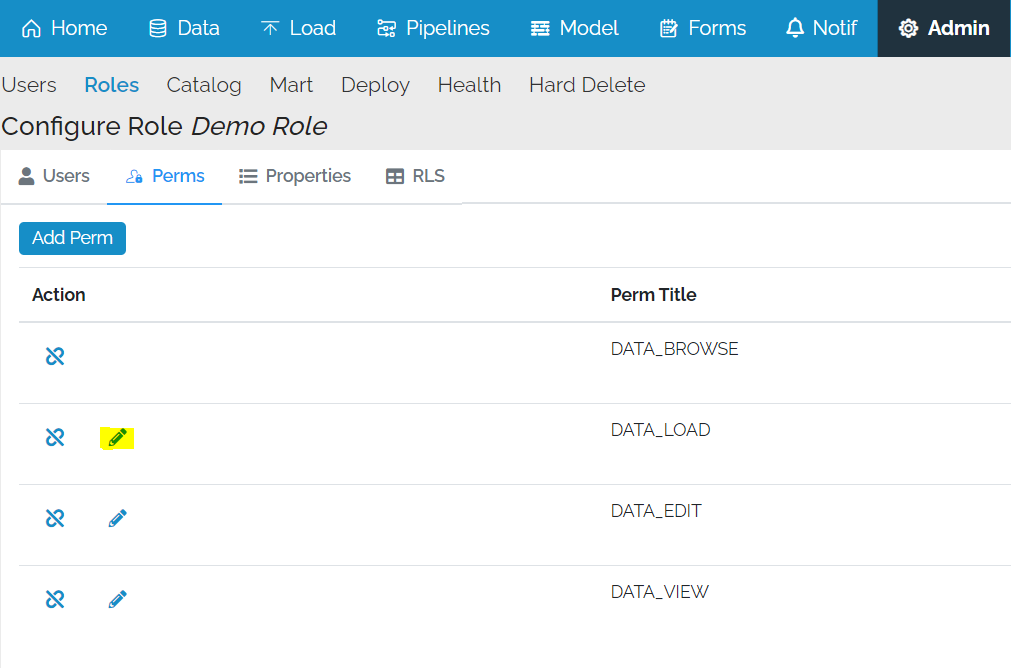
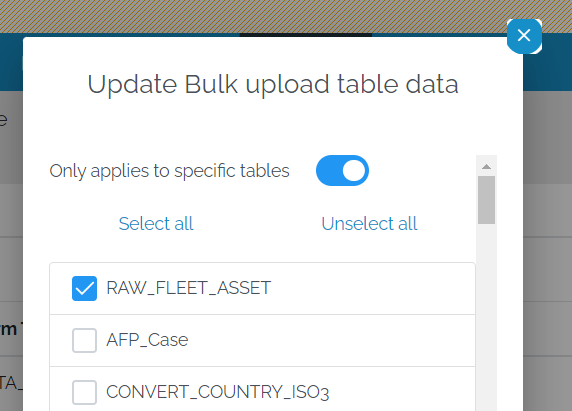
After selecting one of these permissions in the Add Perm window, activate the “Only applies to specific tables” setting and choose the specific objects you want to allow by checking the tickbox.
Remove Permission
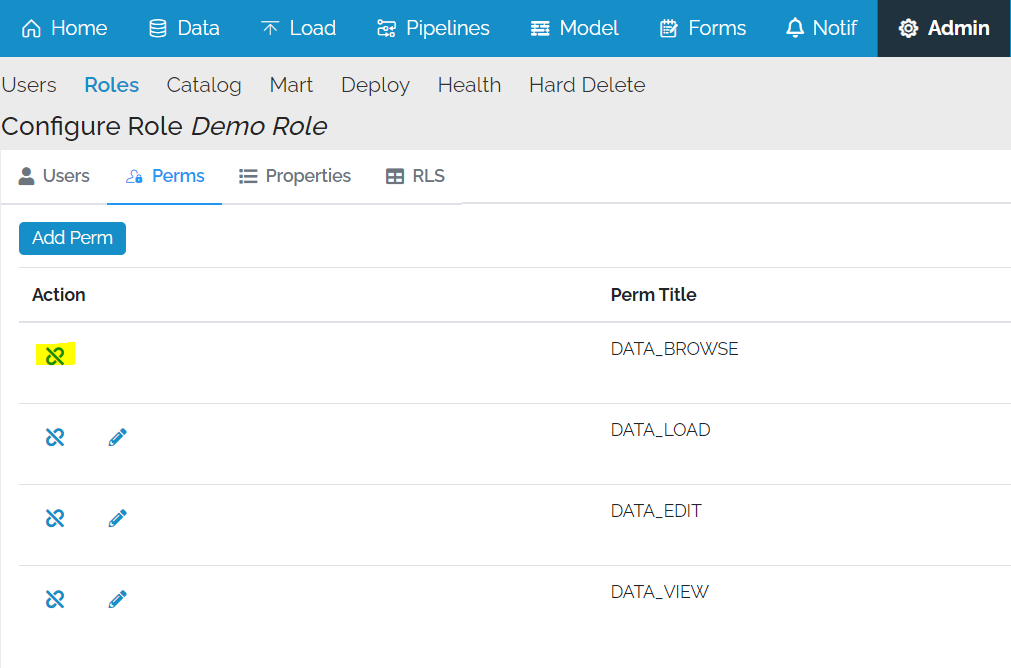
To remove a permission, press the delete icon in the list of permissions:
Allow USER_MANAGE perm to edit RLS property values
A mart admin can delegate the assignment of row-level-security property valuesvto another user by assigning that user the USER_MANAGE permission. The USER_MANAGE permission can be assigned to another user for a set of roles. That user can then add or remove users from those roles and now also assign row level security values such as country ISO codes to those users.
User Management
This article contains more information on adding users