Upload data from Excel
Data can be loaded from Forms, using the Simple Data Load page or from the Data Load page or directly to the file using the Data page. This article describes how to upload data from the Data page.
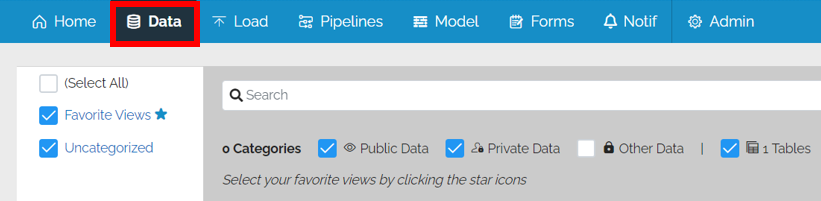
Go to the Data Upload Button
Select Data to see a list of tables.
Go to the Data Action Panel in the top right
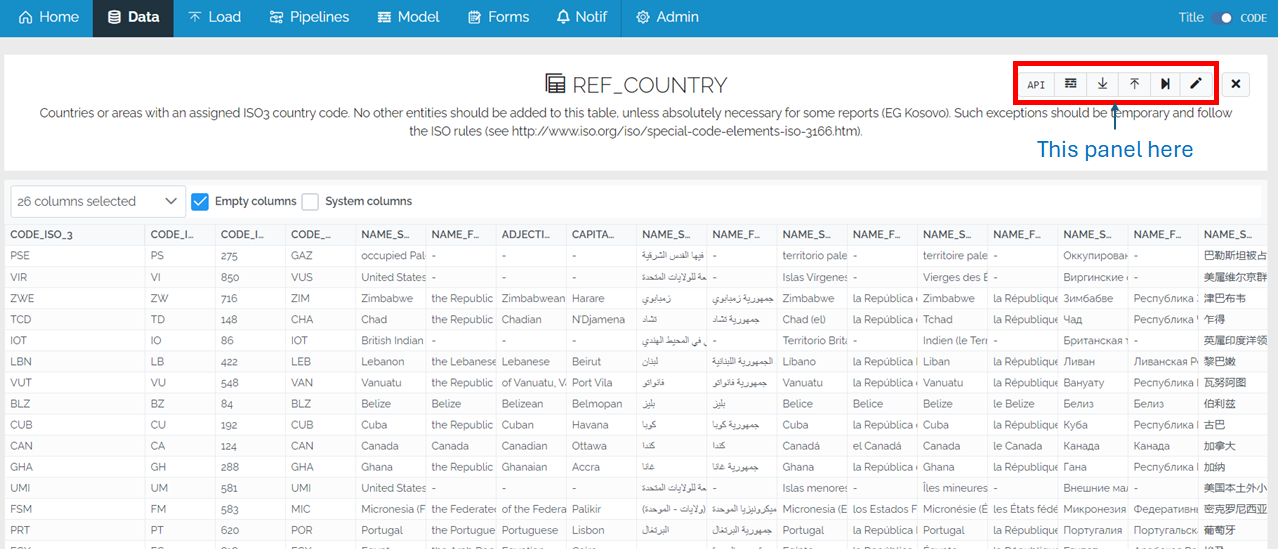
Click on the up arrow to upload from or CSV.
![]()
Specify the File
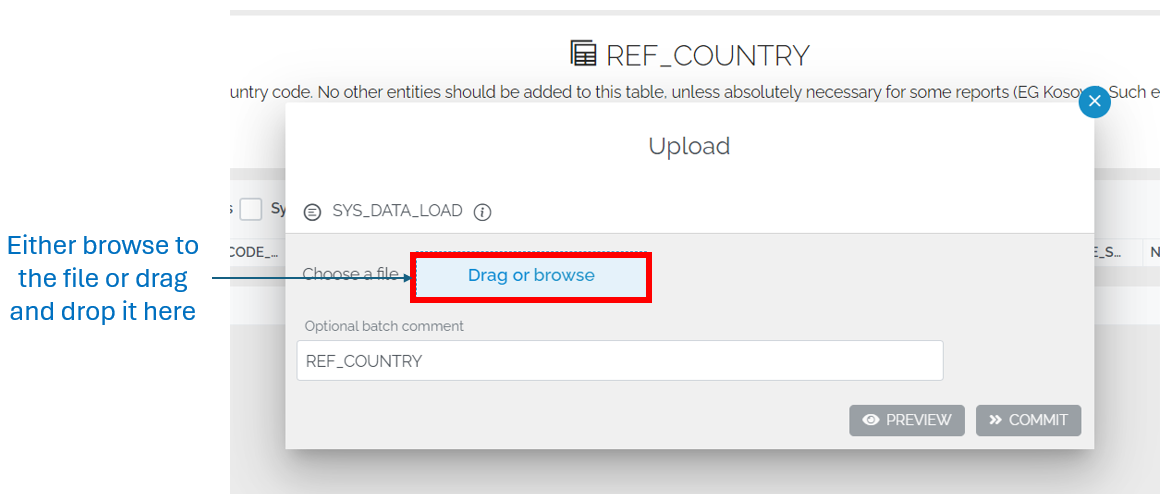
The file that you pick must fulfil some certain criteria to ensure that the load is successful.
File format
The file must be in Excel or CSV format. The column titles should be on either the first or second row. An example of this can be found in the files which are downloaded by using the Download Process.
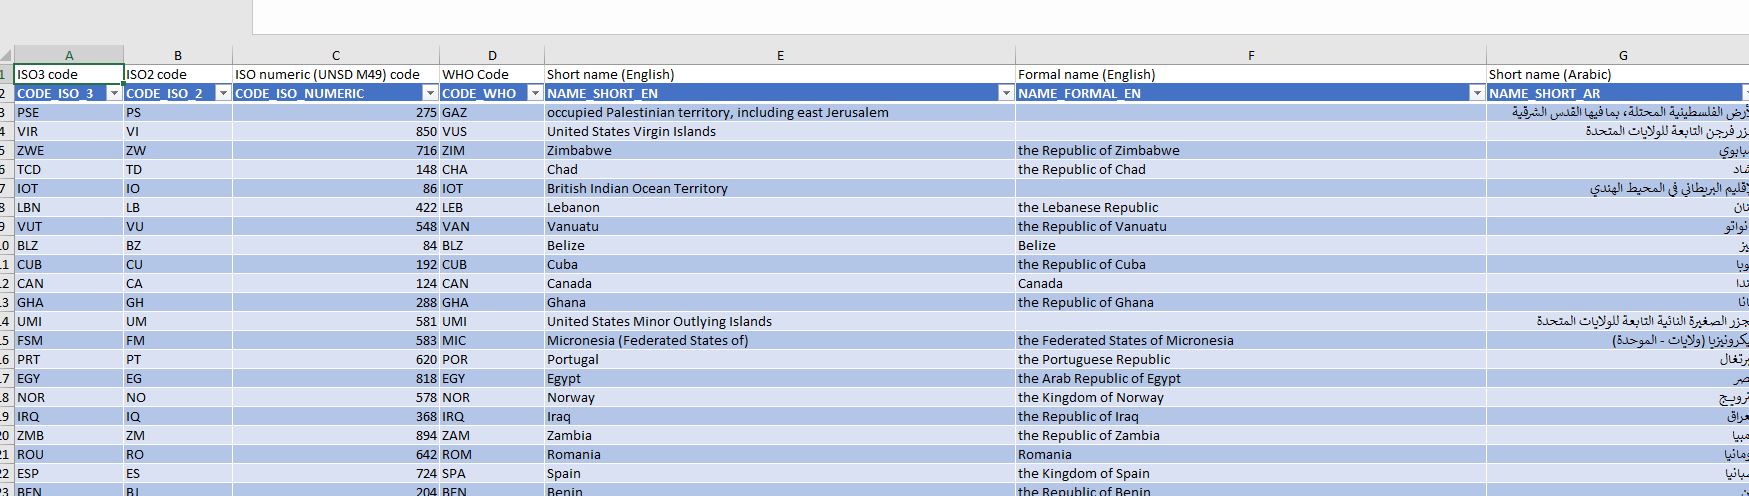
Column Names
The column names in the file must match the column names in the table to make the link between the columns in the file and the columns in the table.
Include any Business Primary Key fields
Not all columns have to be included but you must include the ones used in the Business Primary Key so that the load process can identify whether the record is an update or a new record
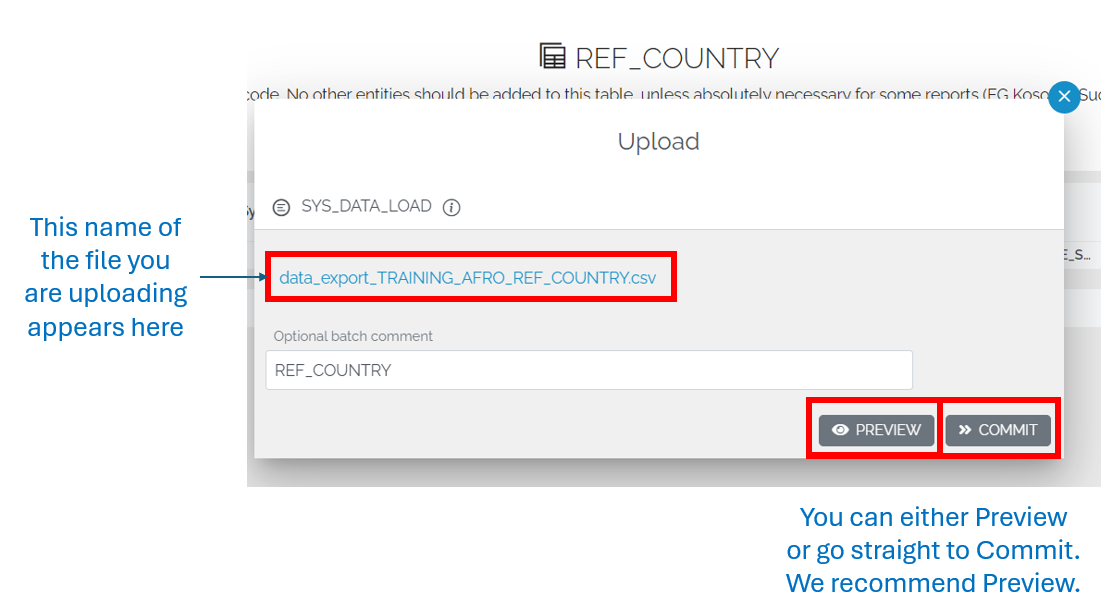
Batch Preview Page
Pressing Preview will bring you to the Batch Preview page. It contains the name of the file specified, an arrow to download it

From here, you can see the changes and statistics
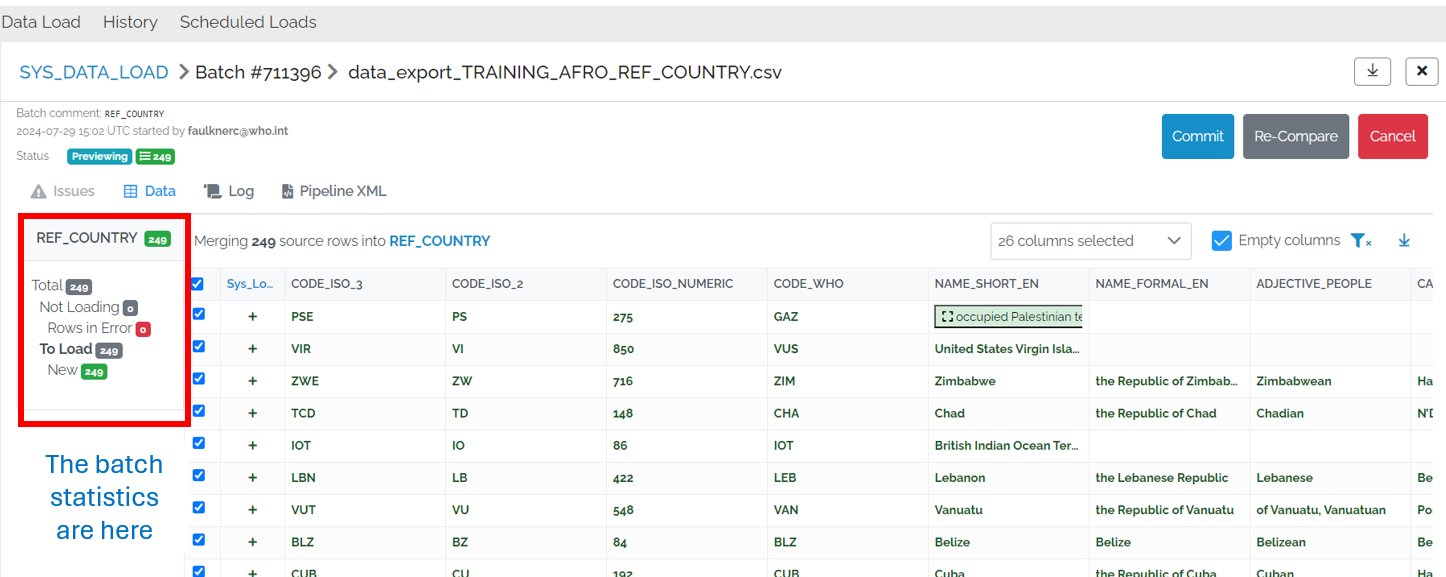
If you are happy with the data then press Commit otherwise you can Cancel.