Mart Tab
This article describes the options available in the Mart tab.
Navigate to Mart Page
Select Admin and then Mart.

Edit Mart information
In the Mart Information panel on the left, you can change the title, description, contact name, contact details and the simple upload page contents.
After the changes have been made, scroll to the bottom and press Update.
Simple Upload Page Configuration
The simple upload page is for users who only want to upload data without seeing the menus. It is configured in the Mart Admin page and contains html.

If you click on the i button, you can see a link to test it.
Export Mart
The Export Mart button can be found here

More information on how to use it can be found in the Export Mart Article
Refresh View Stats
The Refresh View Stats button can be found here
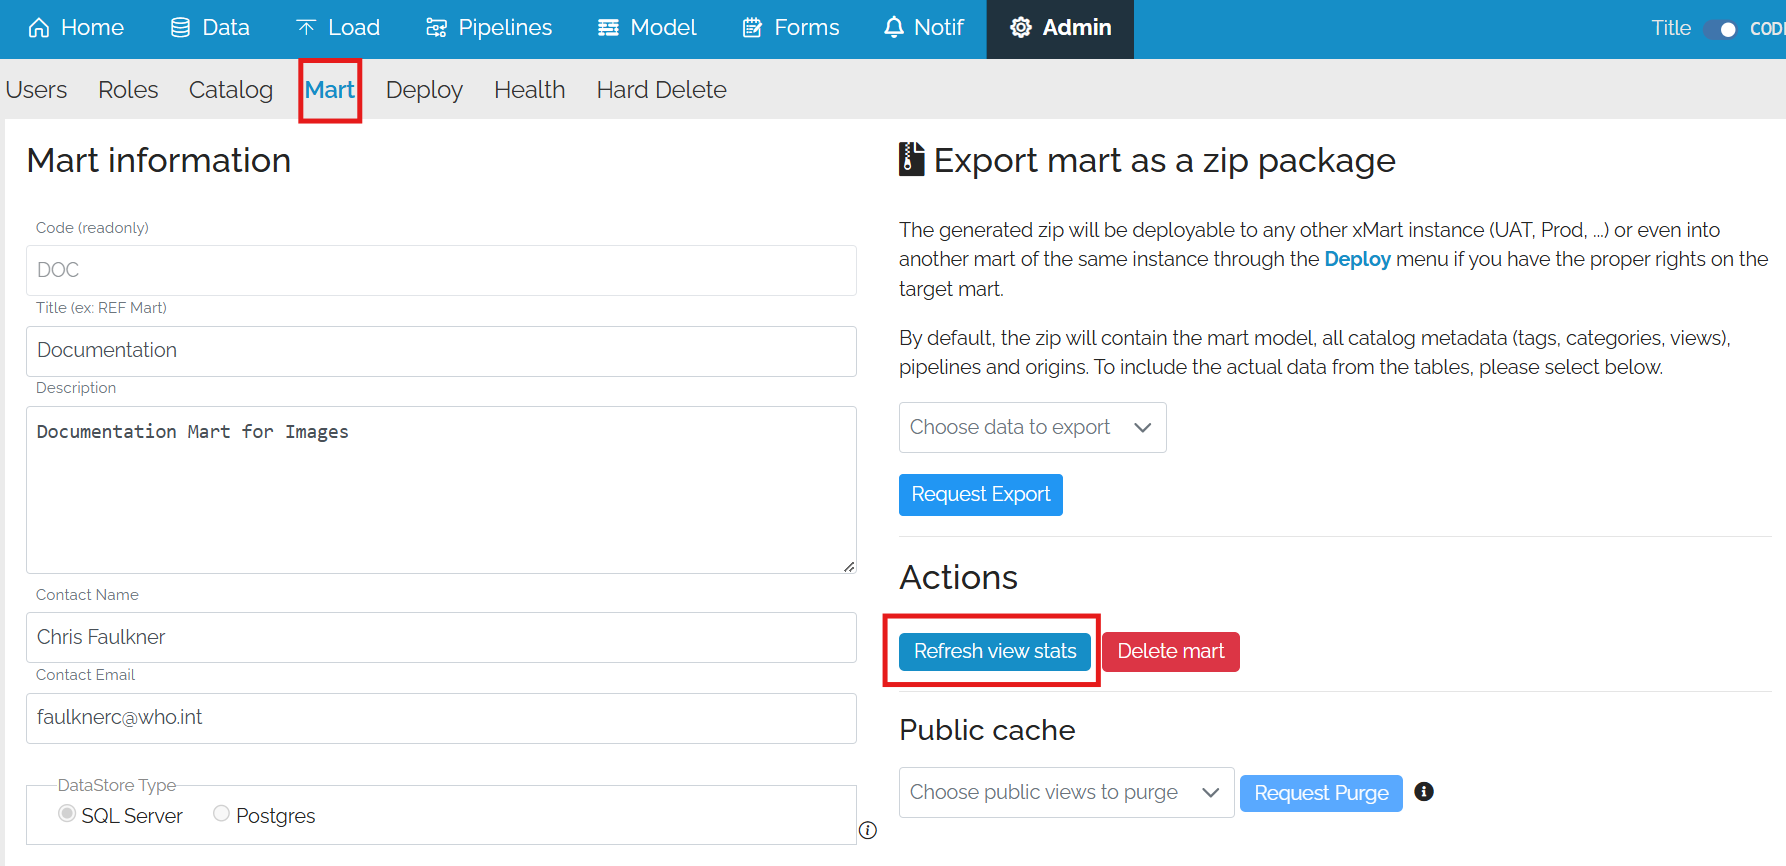
It is used to refresh the statistics on the custom views.
Delete Mart
The Delete button can be found here

You will be asked to confirm the deletion.

The Mart will be deleted and you will be returned to the xMart environment home page.

Cleanup
The soft deleted marts will be automatically cleaned up by the scheduled cleanup job after 60 days.
Request Purge
In xMart, data via the API can be either Private or Public. The Public data is cached and the cache is meant to purge whenever data is loaded but it is possible for the cache not be be purged (for example for custom views). If this happens, the cache can be purged manually be requesting a purge for one or more tables / views.
To do this go to the Public Cache section

The Request Purge button is not available because no objects have been selected. To select them, press the down arrow on the dropdown
![]()
Select the items from the list and then press Request Purge.
Set up Simple Data Load Page
To set up the Simple Upload Page page, go to the setup area on the right and enter the HTML.
Clicking on the i button will bring up a link to it.
All of the pipelines to which the user has access will appear on this page.
Normally, this link would be shared with the users rather than the mart link.