Data Load Page
Data can be loaded directly to the file using the Data page, from Forms, using the Simple Data Load page or from the Data Load page. This article shows how to load data from the Data Load page.
Navigate to Data Load Page
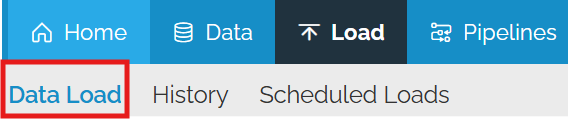
To navigate to it, select Load and then Data Load.
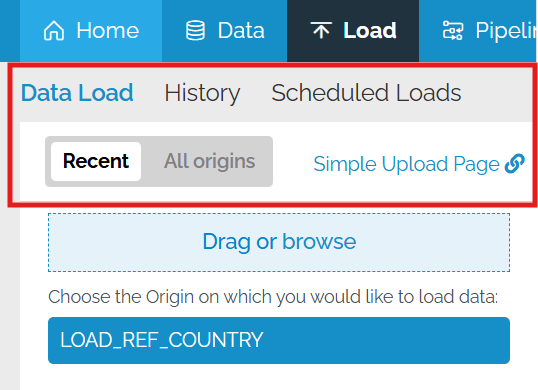
There are a set of actions available in the top right as well as the ability so see the batch load page.
Data Load
The list of the last 25 load batches for the current Mart will appear on the right. The file which was loaded can be downloaded by clicking the down arrow on the right of the line for the batch.

There is a group of icons to the right of each batch
![]()
![]()
Clicking on the batch ID will give all of the information for the batch.

The statistics for the batch can be found at the top of the screen.

At the left is a more detailed summary by table and by change type.

Clicking on each of the named changes (e.g. Not Loaded, Unchanged, Updated etc.) will change the panel on the right to just have those records.
There is a menu at the top right


The staged data can be downloaded if it is available

There is a series of tabs allowing the user to change between the Issues, the Data, the Logs and the Pipeline XML.

Clicking on the target table name will take you to the data for that table.

History

In the Data Load page, only the last 25 batches are shown. To see batches which are older than that, click on the History action.
This brings up the Load History page

At the top are options to
- Include Child Batches (for flow pipelines)
- Filter by Tags (for pipelines with tags)
- Search for a batch using all or part of the origin code.
Each of the columns is sortable and filterable.
Scheduled Loads
If you have any origins with scheduling, they will appear here.

The button on the right allows you to edit the scheduling.
Single file upload
There are two options to upload a single file. Option A: Drag and drop the source file in the “Drag or browse” box, or click on browse and locate the source file by navigating in the window that will appear. Afterwards, at the pop up box, select the origin you would like to use.
Option B: Select the origin you wish to use to upload your file, and then use the drag and drop method or browsing methods as described above, in order to assign the source file to the selected origin.

The next step is to select Preview or Commit. The suggestion is to select Preview in order to review all the information provided by the system regarding the uploaded file. Regardless of your selection between Preview or Commit, the staging process will begin and as soon as it is finalized the loaded batch page will open.
In the circled areas you can get valuable information like if there are any issues and if you file contained new rows or updated information for existing ones. In this case, the Issues is greyed out which means there are no issues with your data. Inside the second circle you get details regarding the rows in your file like, total number of rows, how many were or were not loaded, out of the loaded ones the number of the new and updated. As a suggestion you should always check these figures to verify that the file you are about to commit or have already committed was correct.
Multiple File Upload
The multiple file upload process is similar to the single file. In order to upload multiple files, there is only one option, option A, as described above.
Use the “Drag or browse” box at the top left, in order to drop your files or navigate in your system. Once this step is done then you will see listed the files you chose and a drop down menu where you can select the origin to be used for the upload and confirm by clicking Apply.
If at this step you click Skip then you will need to assign an origin to each file one by one. This option is useful if you wish to use different origins for your source file.

Once an origin is selected, and confirmed by clicking Apply, you will see on your screen all the files with the assigned origin. At this stage you can preview or commit one by one, or use the Preview All or Commit All button. The progress of the process can be monitored at the top of the screen where the latest 25 batches are listed. In case you uploaded more than 25 files you can use the history as described in another how to article.
